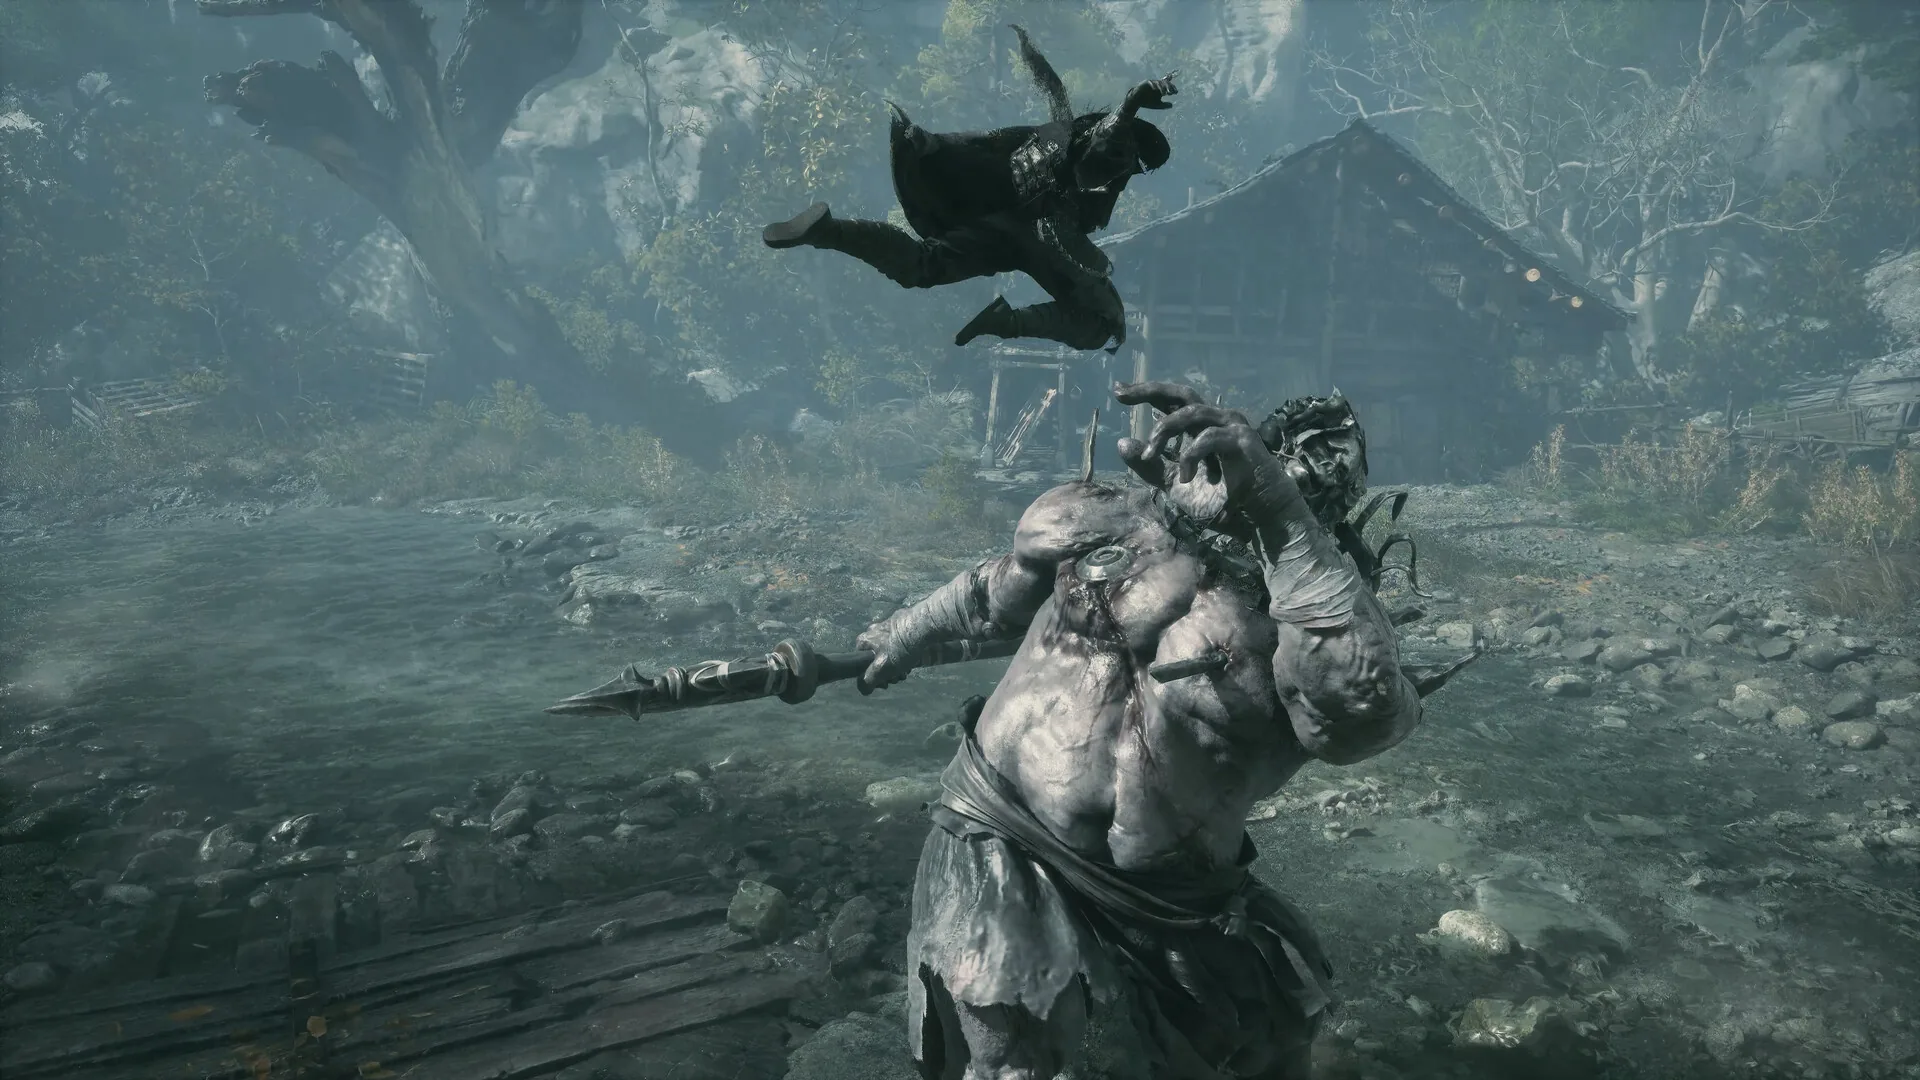
Hua is the first optional wall in Weeping Creek Valley, and she punishes two habits at once: greedy punishes and standing still. She is a Puppet, so Bleed does nothing to her, and her lily patches turn the arena itself into a second opponent. Learn her two-swing rhythm and she becomes one of the cleanest early skill checks in the game.
Location and unlock
Hua, the Deadly Betrothed, is an optional boss in Weeping Creek Valley, Chapter 1. You find her in the Flesh Lily Fields, off the main path rather than on it. Because she is optional, you can walk past her entirely — but you should not, for reasons covered under the reward section.
She sits at roughly the same progression band as Jagged Steel and Peng Meng, and the compendium rates her difficulty 3 on Pathbreaker with level-appropriate gear. That rating is honest: she is not a stat wall, she is a discipline check.
Attack tells
Hua’s moveset is small but each piece has a distinct read. The core loop is built on two-swing strings, with the hits landing roughly one to one-and-a-third seconds apart, then a second beat around the two-second mark. That gap is your entire parry rhythm — it is wide enough to react to, narrow enough that mashing will not save you.
Her other tools:
- Fast long cut — a single extended slash that closes distance quickly. Treat it as a parry, not a dodge.
- Low sweep — two hits arriving too fast to parry both. Do not try to be a hero; block or reposition.
- Drifting blooms → grab — floating petals converge, then she grabs. This is the setup for her grey-screen finisher.
- Red-flash grab — the unparryable version. Red means dodge, always.
- Burning lily patches — the arena hazard. Fresh patches are live; standing on them is a self-inflicted wound.
The single most important tell is the red flash. In Phantom Blade Zero, blue means parry and red means dodge, and Hua is a textbook example of why that rule exists. Her red-flash grab leads into a grey-screen finisher, so eating it is not a chip-damage mistake — it is the end of the attempt.
Phase-by-phase strategy
Hua has 21,060 HP and, per the compendium, reads as a single continuous fight rather than a hard phase break. The practical structure is a pressure phase and a hazard phase, and they overlap.
Opening: learn the strings
Spend the first exchange doing nothing but reading. Parry the two-swing strings, dodge the red flash, and note where the low sweep sits in her rotation. Do not punish yet. Her counter-swing punishes greed, so the moment you commit to a fourth hit, you are eating it.
Mid-fight: punish windows
The safe punish is two to three hits, then reset. That is the whole formula. After a completed string, after a whiffed long cut, after the low sweep resolves — take your two or three, then return to neutral and wait for the next read. The compendium is explicit that her counter-swing exists specifically to catch players who extend.
Hazard phase: the lily patch
As the fight drags, drifting blooms fill the air and burning lily patches accumulate on the ground. This is where most attempts die, and almost never to Hua herself.
Move the fight. Drag her toward clean ground, punish, then relocate again. Treat the arena as a resource you are spending.
Best weapon and build
The compendium’s recommendation is unambiguous: bring a non-Bleed parry weapon. Hua is a Puppet and is Bleed-immune, so any build leaning on Bleed application is throwing away its main damage vector for this fight.
What matters instead:
- Parry reliability — the fight is a parry test, so pick a weapon whose parry timing you already trust.
- No Bleed investment — do not bring a Bleed-centric setup and expect it to carry.
- Sha-Chi discipline — remember that timed blocks drain the boss’s Sha-Chi, and emptying it triggers a Breach. Breached enemies cannot block and take extra damage, which is your real punish window.
If you want broader context on how parry, dodge, Sha-Chi and Breach interlock, see combat system explained. For weapon selection generally, best weapons tier list is the companion read.
Reward
Defeating Hua grants the Scarlet Wraithblade and the associated achievement/trophy. The compendium flags the Scarlet Wraithblade with a dagger symbol, marking it as an achievement-linked drop.
Because boss drops are one-per-run and there are no respawns, this is a single opportunity per playthrough. If you want the Scarlet Wraithblade on this save, you take it now or you take it in free roam.
Common mistakes
- Healing with blooms airborne. The most common death. Clear the airspace first.
- Standing on fresh lilies. The patches are live hazards, not decoration.
- Greeding past three hits. Her counter-swing is designed to punish exactly this.
- Trying to parry the low sweep’s second hit. Two hits, too fast — do not attempt it.
- Bringing a Bleed build. She is Bleed-immune; the damage simply is not there.
- Dodging the red-flash grab late. Red means dodge, and the grey-screen finisher is the cost of getting it wrong.
A clean attempt, step by step
- Enter the Flesh Lily Fields and confirm your weapon is not Bleed-dependent.
- Spend the first exchange reading the two-swing strings without punishing.
- Parry the strings, dodge the red flash, block or reposition on the low sweep.
- Take two to three hits after each completed string, then reset to neutral.
- When blooms appear, stop healing and start relocating the fight.
- Keep timed blocks flowing to drain her Sha-Chi toward a Breach.
- Punish hard during the Breach window, then reset before her counter-swing.
- Claim the Scarlet Wraithblade.
Sources & confidence
The main source is the AllThingsHow Hua, the Deadly Betrothed boss fight guide, corroborated by the Kungfupunk, pbz.guide and KeenGamer boss compendiums for location, reward and difficulty rating. The biggest uncertainty is phase structure: the compendium presents Hua as a single continuous fight with escalating hazards rather than a hard phase transition, so the “opening / mid-fight / hazard” split above is an editorial reading of that escalation, not a documented phase break.
Sources & further reading
- Boss fight guides — AllThingsHow
- All bosses and rewards — KeenGamer
- Boss database — PBZ.gg
- Trophy guide and roadmap — PowerPyx
We link to the primary source for every hard number. If a source conflicts, we say so in the text.
By the PBZ Guide Team · Reviewed by the editorial desk Written in English from primary sources and cross-checked play routes. Spot an error? Tell us and we will update the guide. We link to the primary source for every hard number. If a source conflicts, we say so in the text.